How to Laser Engrave a Tumbler
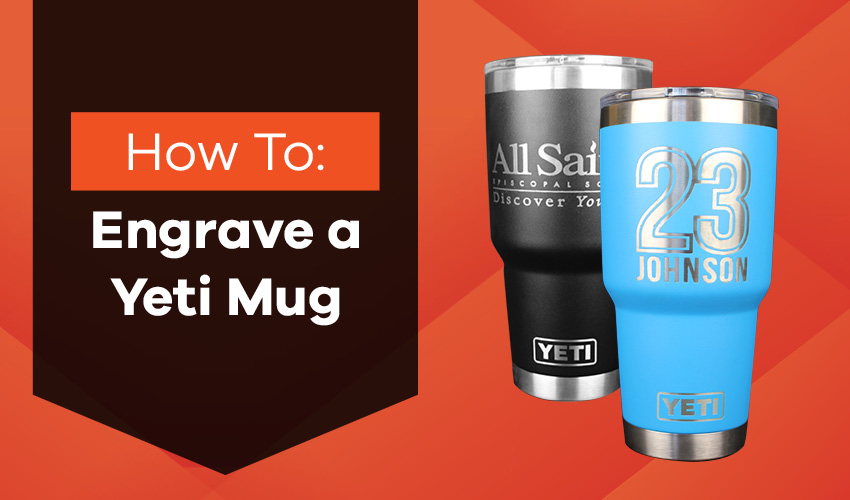
Of the many things you can engrave using your AP Lazer, one of the most popular items is tumblers, or more specifically, Yeti mugs. Today we are going to show you the specifics on how to laser engrave a tumbler by following these simple steps. They’re simple, practical, and make great gifts for any occasion. You can engrave a number of things on Yeti mugs, from names to sayings to images. The possibilities are endless! So how exactly do you laser engrave a Yeti mug, you ask? Allow us to walk you through the process:
Table of Contents
Finding the center of a Tumbler
First, using the “Yeti” symbol as a starting point, measure to find the center of the mug. The symbol itself should measure about an inch and a half in length. So halfway in on the symbol will measure at about three-quarters of an inch, which is where you will make a small mark on your Yeti mug.
Next, you’ll use your handy dandy speed square to draw a line from the top of the mug down to the Yeti symbol. Typically, this is done first before set up to ensure that the tumbler and rotary tool are nice and square. Please note, your mark should be just to the inside of the “E” on the word “Yeti”.
Load the Tumbler in a Rotary Tool
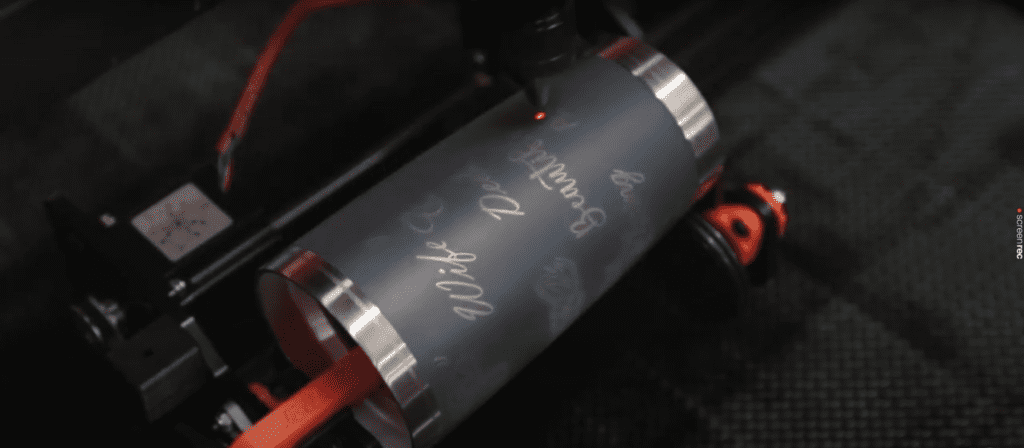
Now, you’re ready to load your Yeti mug inside of the rotary tool! Before you get any further, ensure the lens is focused on both ends of your Yeti mug. Next, you will use the control panel to arrow left and right along the line to ensure precision. When laser engraving, there’s nothing worse than finding out you’re off-centered or uneven after engraving your item.
Measuring circumference
Let’s say you want to engrave the word “Mama” on your Yeti mug, as done in this video. To make a template for this and do a full circumference, you’ll want to measure both the top and bottom circumference, along with that of your engravable area. For a 20-ounce Yeti Rambler, for example, the top will measure out to 11 inches, while the bottom will measure out to 10 inches.
* Please note, the template used in this video is available on AP Lazer University – all you need to do is log in to gain access!
Centering images
If we measure from the top to the bottom of our engravable area, we’re looking at about four and a half inches. As a visual guide, we suggest placing a Yeti symbol underneath what you’re looking to engrave. Next, you’ll draw a box around your text (or image) and find the center of that box. Then, draw another line down the center of that box to ensure precision. Notice the setup of your box. If you go up to your coordinates, you’ll see that the settings are in the center of your “0.0” on the X and Y axis. You’ll notice the same for your text, meaning that your text is going to be your center point.
Exporting the files
Next, get rid of the Yeti symbol that you put under your text, as it was needed just as a visual guide. From there, you’re going to export this file out as a .dxf file. When the export settings pop up, you’ll select an r14. Remember, your units are going to be in inches. The “Export Text As” will be set to “curves”, and the “Export Bitmap As” will be set to a .bmp file. If you’d like color or would prefer it unfilled, that is your (or your customer’s) preference.
Importing files into RDWorks
Once imported, you’ll go to your RDWorks program and import your file. First thing’s first, you’ll select everything (your image/text, etc.), and change the color to make it all one layer. Then, select your box, along with the centerline, and choose another color for that. Next, go over to the top right, where you’ll see “Layer>Mode>Output>Hide”, and change the output to “No” for your second layer. The mode of that layer should be set to “Laser Cut”, just to ensure you’re changing the settings for the correct layer.
Engraving the final product

Once your Yeti mug is all cleaned up, don’t forget to admire your work!
Now you’ll rotate your image 90 degrees and change your laser origin to left-center. Be sure to adjust your speed and power settings before you proceed. Your speed should be set to 10, while your power should be set at 65, with this being set up as a 300 dpi image. From there, go ahead and download your file, then step on over to your laser machine, and set up the origin.
You’re going to want the red dot to be at the top left center of your tumbler. Then, select Origin >Frame. You’ll notice that your laser should stay right above the Yeti symbol on both sides. Now that you’ve tested everything out, all that’s left to do is select the “Start” button and watch some magic happen.
Your tumbler is now complete! Check out your finished product to ensure accuracy. Don’t forget clean it! Use a little bit of water and a magic eraser to wipe your tumbler down. In this video, we used a bit of Awesome Orange cleaner to wipe down the tumbler, as well, but alternatively, you can use Dawn dish soap. Compared to the example photo used in the video, you’ll see that everything is lined up perfectly.
Well, there you have it – an engraved Yeti mug. We hope you enjoyed and found this tutorial to be beneficial. For this and many other video tutorials we’ve posted in the past, please visit our YouTube channel for more. Are there any other tutorials you’d like to see us demonstrate? Let us know in the comments below!
Want to learn more about engraving with an AP Lazer machine?
Speak with any one of our knowledgeable laser experts by contacting us directly.
We are also available by phone at 1-800-585-8617.
Don’t forget to download our business growth guide here!


0 Comments