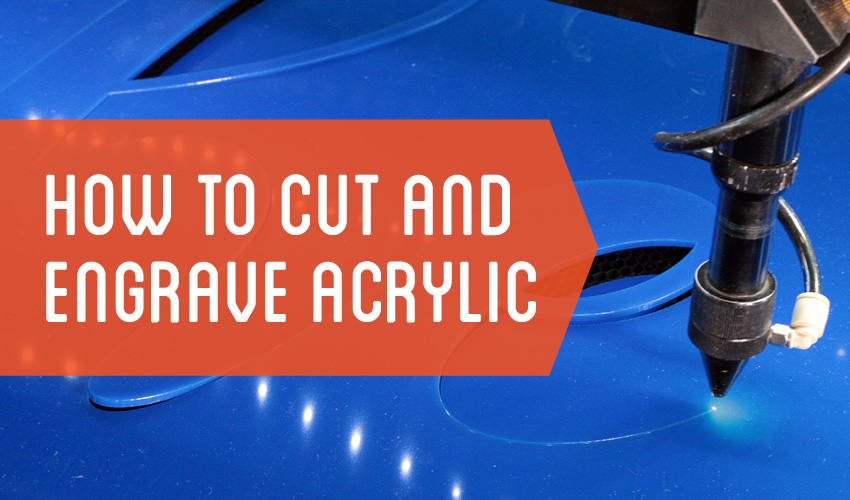
Of the many things you can engrave using your AP Lazer, one of the most popular materials to work with is acrylic. Today we are going to show you the specifics on how to laser cut and engrave both types of acrylic by following these simple steps. There are so many different ways to use acrylic, from signs and ornaments to earrings and cake toppers – the possibilities are endless!
Types of Acrylic
Cast acrylic works really well for engraving, as it is harder and sturdier than extruded acrylic. Due to its durability, cast acrylic is less likely to chip, bend, or melt while milling. This kind of acrylic is more pliable than extruded acrylic sheets. The engraving on cast acrylic produces a white frosted kind of look. On the other hand, cast acrylic tends to get a bit of hardness to the cut itself, which is why extruded acrylic is good for cutting. With extruded acrylic, you are able to do a flame polish edge on the cutting.
Before You Get Started…
It’s important to know what kind of acrylic you have in order to ensure accurate power and speed settings. Whether you’re doing cutouts or engraving, you want to make sure that the type of acrylic you have works well for your intended use. Not to worry! We will be going over the steps for both cutting and engraving on acrylic.
So how exactly do you laser cut and engrave acrylic, you ask? Allow us to walk you through the process.
Engraving with Cast and Extruded Acrylic
File Setup
We typically use CorelDraw for setting up vector images, and things like logos, line art, and just simple text, so the instructions we provide here will coincide with that program. First, you’ll create a new document and name it something you’ll be able to easily identify. We appropriately called this file “Acrylic Cut Out”. Now that you’ve named it, let’s adjust the work area accordingly. Under “dimensions”, you’ll see height and width settings. Ensure those are accurate for the size of acrylic you’ll be working with. In this case, the size of our cast acrylic piece was 6’x6′.
Take note that the dpi resolution doesn’t matter much here because we are going to be dealing with vector images. The dpi can be more flexible here than when dealing with, for example, photographs.
File Types
There is a wide range of file types you’ll come across, for example, jpegs, eps files, SVG files, and Bmp files. While almost all of these file types are able to be used with our program, we typically try to stick with eps files. They’re the easiest to use and are essentially ready-to-go files. Eps stands for encapsulated photo script and is a good choice for high-resolution vector graphics. They are typically created in adobe or Corel.
We notice a lot of our customers using typical SVG files, which are scalable vector graphics. With that kind of format, it’s basically a two-dimensional graphic that’s supported with the intention of animation, such as gifs. They work well with websites and online documentation. Then old reliable – the jpeg, which is considered a roster file, meaning they can be very pixelated. While there are certain things we can do to clean them up, they don’t always produce the best results.
You’ll see the eps file that we’ve purchased off Big Stock in the video demonstration above. At the end of the video, our host and AP Lazer tech, Jason, shares a number of websites you can go to for different types of imagery.
Now that you have your EPS file, you’ll now want to import it by going to the top right-hand corner and clicking on “File”, then selecting “Import”. Once imported, check your image to ensure there is no pixelation or jaggedness. Next, you’ll select the properties tab on the right-hand side of your screen. If you don’t have that, you’ll select window>docker>properties. Now that you have properties selected, you’ll click on the fill icon and click the white X to drop the fill out. Don’t be alarmed when your image goes away – that’s supposed to happen as there is no outline around it. To the left of the fill icon, you’ll select the outline icon. From the drop-down box, click on hairline to add to your image and ensure that it is the correct size for what you want and that it fits within your working area. Once you’ve made your sizing adjustments, hit apply to save your changes. In the video, we have a 6 by 6 working area, so we did a 5.8 just to give ourselves some wiggle room.
Let’s Get Started
We can now send this file out and engrave it and cut it with the same file. For more detailed instructions, be sure to check out the video walkthrough with one of our AP Lazer technicians. Before sending the file, be sure to import it (file>import), and double-check your desktop for your file. Once you see your file on your desktop, you can send it to the machine. Be sure to download your file, as well. Now you’re ready to engrave/cut! Place your acrylic under the laser, and ensure it is in focus. Pro tip: mark the center of your acrylic to ensure you’re staying within your working area. Make sure you turn on your ventilation, too! Now, close the lid to your laser machine and press “Start”.
Once your design is complete, be sure to clean your product. We recommend using a piece of paper towel to remove excess dust, and then spraying your piece with Windex, using a magic eraser to clean it. Once cleaned, you’ll peel the backing off.
And that’s it, you’re done!
Well, there you have it – easy steps on how to cut and engrave acrylic. We hope you found this tutorial to be beneficial. Please visit our YouTube channel for more about this and many other video tutorials we’ve posted in the past. Are there any other tutorials you’d like to see us demonstrate? Let us know in the comments below!
Want to learn more about engraving with an AP Lazer machine?
Speak with any one of our knowledgeable laser experts by contacting us directly.
We are also available by phone at 1-800-585-8617.


0 Comments